How to Plunder Saika Castle as Naoe in Assassin's Creed Shadows
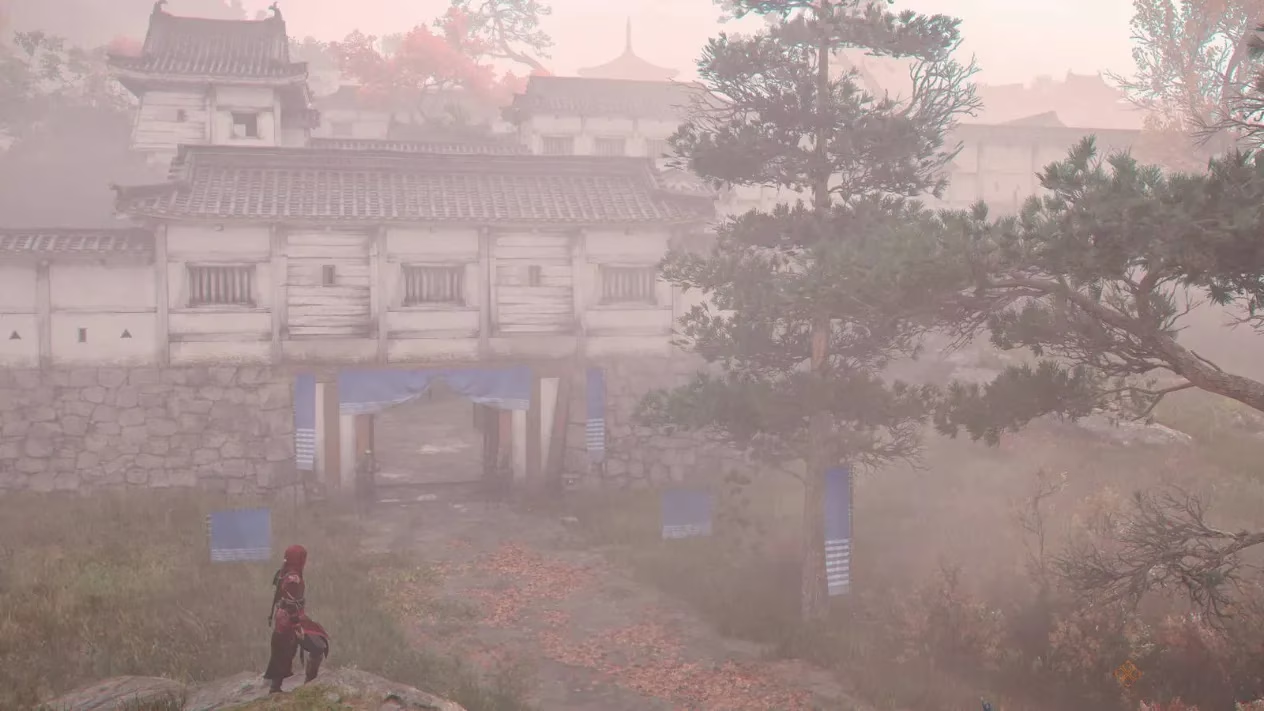
Way down in the Kii region of Assassin’s Creed Shadows sits a fortress that’s absolutely begging to be robbed blind — Saika Castle. Sure, Yasuke could stomp through the front gate and turn the courtyard into a mess of flying bodies, but why wake the whole neighborhood when Naoe’s shadowy skills are right there? By 2026, most players know that a whisper-quiet infiltration isn’t just stylish; it’s efficient. This guide lays out every sneaky step needed to ghost through Saika Castle, silence its three Samurai Daisho, and walk away with legendary loot, including the Tale Smasher Kanabo — a stick so big even Yasuke will raise an eyebrow.
Where the Heck Is Saika Castle?
You’ll find this walled treasure trove in the southwest corner of Kii, directly south of a little spot also called Saika and just west of Sazae Oni Shores. The closest fast-travel point is the Saika Kakurega, perched conveniently north of the main entrance. If you’re already sick of galloping through bamboo, just teleport there and you’re practically on the doorstep.
The First Samurai Daisho — The Sleeping Target
Roll up from the north and you’ll spot two clueless guards at the gate. Since the walls here aren’t exactly a climbing gym’s nightmare, pick whatever entry point tickles your fancy. The plan is to first sweep the northeastern courtyard for goodies, then shimmy along the wall southward into the eastern section of the castle. There, in a house surrounded by a small gang of bored samurai, the first Daisho is just chilling.
Here’s the play-by-play:
-
🗡️ Pluck off the patrolling guard who wanders too close to the northern wall — he won’t be missed.
-
🚪 Crack the door open quieter than a mouse on tiptoe and slip inside.
-
😴 The Daisho has zero idea what’s coming. One swift assassination from behind, and the first boss is done. How’s that for an icebreaker?
The Second Samurai Daisho — Death from Above
From the eastern courtyard where the first poor soul met his end, turn your gaze west. Peek into the south-central courtyard, and there he is — the second Samurai Daisho, strutting around with the confidence of a man who’s never seen a rooftop. Now, this guy has a bodyguard who paces back and forth like a metronome. Patience, friend. Wait until that guard spins around and heads the other way, then leap straight off the adjacent roof for a classic air assassination. The Daisho won’t even hear the wind shift before he’s hugging the dirt.
The Third Samurai Daisho — The Tower Tango
Two down, one to go. Shift your focus northwest toward the big, intimidating Saika Tenshu (that’s a tower for the non-weebs). This is the castle’s centerpiece, and it’s crawling with enemies. The third and final Daisho is holed up inside, probably thinking height equals safety. Cute.
Here’s the chain of mischief:
-
🧗 First, scale to the very top of the Tenshu to unlock the synchronization viewpoint — fast travel for later and a lovely photo op.
-
🔪 Once that’s done, drop back down one level and quietly eliminate the two lads guarding the attic floor.
-
🕵️ The floor below is where things get spicy. Use Eagle Vision like a supernatural security camera to track the patrols circling the outer edge of the room. Pick them off one by one, or lure them into dark corners with a well-placed whistle.
-
🎯 When only the Daisho remains, flush him out or sneak up for a final, satisfying neck-stab. If you’re feeling extra cheeky, toss a smoke bomb and watch him flail.
What’s a Heist Without Phat Lewt?
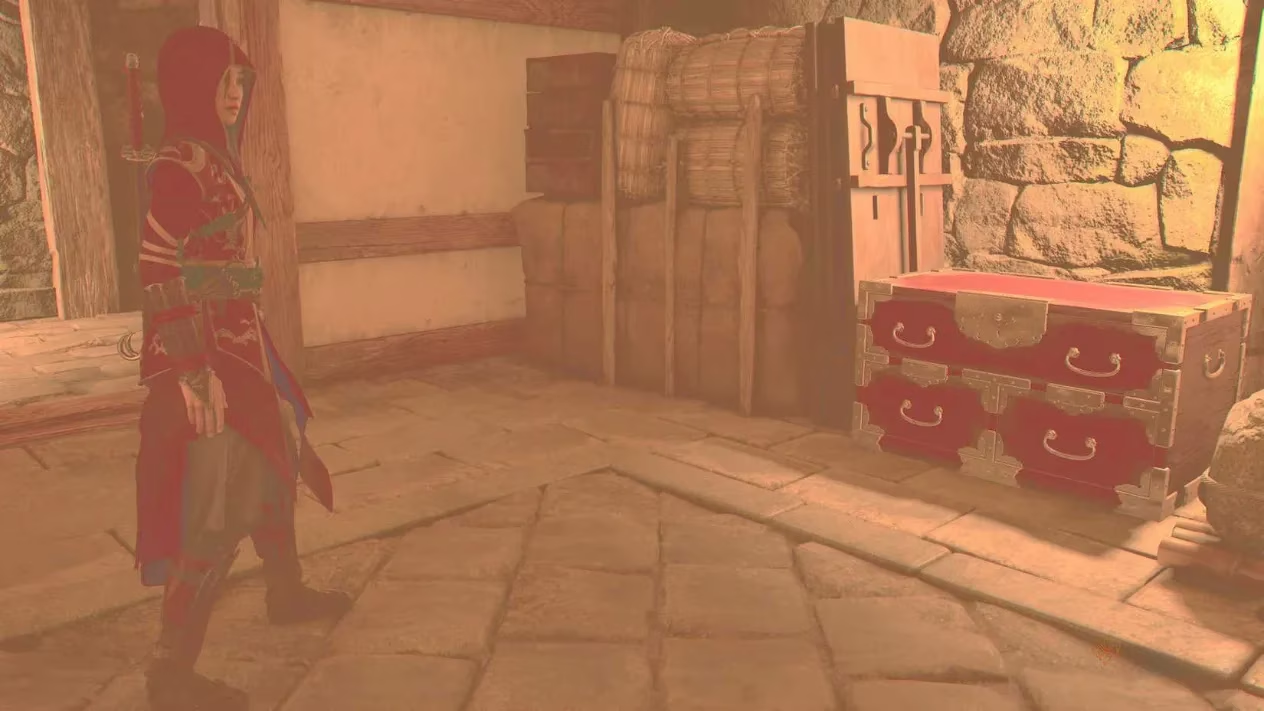
With all three Daisho napping permanently, the castle is your looting playground. But first, grab the castle key from the northeastern courtyard — two stooges stand guard over it, and they’re not exactly bright. That key opens a couple of very juicy sheds:
-
First Door: In that same northeastern corner, a locked hut spills out three chests, plus resources you can smuggle later when Yasuke feels like lifting heavy things.
-
Second Door: In the southeastern courtyard (near first Daisho’s house), another shed guarded by four fellas. Inside: even more chests and resource piles.
Don’t forget the scattered side loot! The house where you offed first Daisho also holds a large chest and a smaller one in the adjacent room. And down in the Tenshu basement, alongside the fabled Legendary Chest, you’ll find a generous heap of chests, resource bundles, and big piles of smuggable goods — enough to make your hideout shine.
The Legendary Chest & More
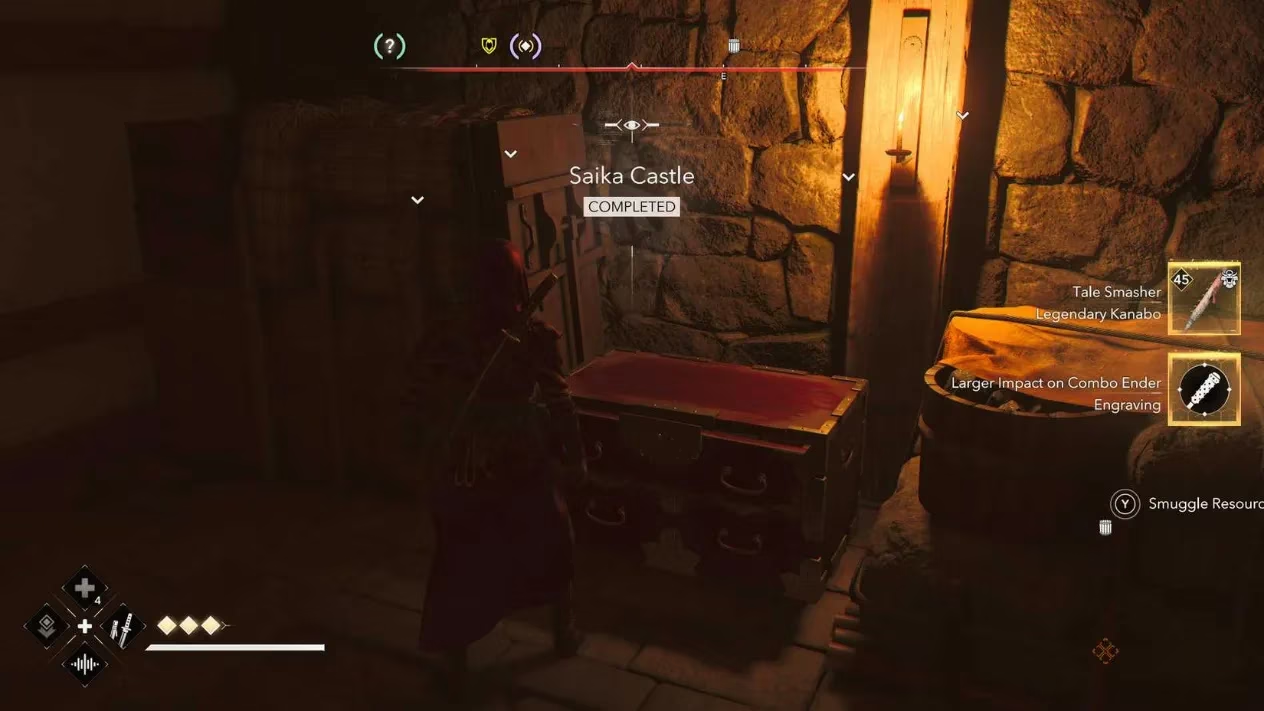
Down in the basement of the central Tenshu, after the final Daisho has breathed his last, the Legendary Chest sits like a prize at the bottom of a cereal box. Crack it open and you’ll be greeted with:
-
🖋️ An Engraving to pimp your gear.
-
⭐ 3,000 EXP — that’s a tasty chunk of progress, no joke.
-
👹 The Tale Smasher Legendary Kanabo for Yasuke. This weapon hits so hard it could probably cave in a tank. Naoe will just have to be content with the XP.
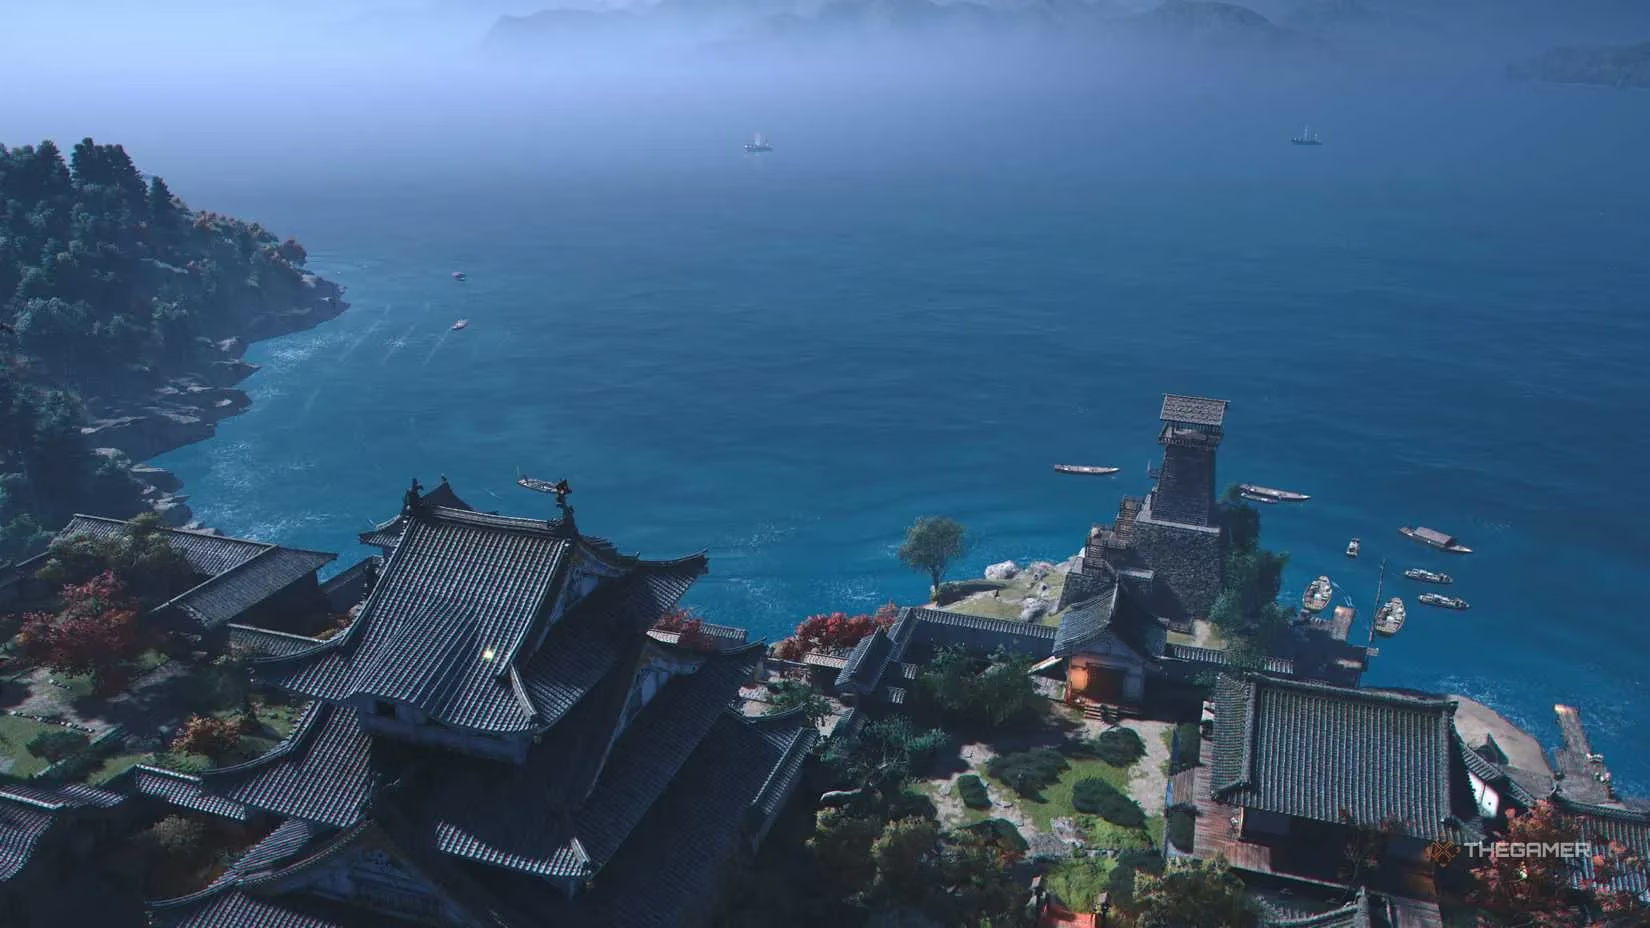
Swing by the central courtyard one more time and scale the Tenshu’s peak to sync up that viewpoint — not only does it serve as a fast-travel beacon, but it also makes for one heck of a leap of faith. Just don’t belly-flop.
Saika Castle is a masterclass in how a methodical, stealthy approach in Assassin’s Creed Shadows can make you feel like a true shinobi. Yasuke gets the big stick, Naoe gets the satisfaction of a job done without a single alarm bell. Now go forth, loot everything that isn’t nailed down, and remember: the best treasure is the story you didn’t leave any witnesses to tell.
Once the castle falls silent and you've plundered every chest Saika has to offer, the hunt for your next great adventure begins anew. Whether you're chasing more legendary gear in Assassin's Creed Shadows or eyeing other titles in the franchise, keeping an eye on prices is its own kind of stealth game. A quick stop at a game price tracker can reveal price drops and discounts you'd otherwise miss, so your wallet takes fewer hits than your enemies did.
After all, the smartest shinobi knows that patience and preparation pay off—not just in battle, but at checkout too. Check out what your next target costs and strike when the price is right.