How I Stealth-Cleared Takeda Castle and Claimed Its Legendary Loot
I headed to Takeda Castle in Assassin's Creed Shadows expecting a fight, but after one loud attempt with Yasuke I quickly switched to Naoe. The castle sits in the far western part of Tamba, south of Takeda, and the closest fast travel point is the Takeda Kakurega to the east. This guide covers the exact stealth path I used in 2026 to kill all five Samurai Daisho, grab every side loot chest, and unlock the Legendary Chest without raising a region-wide alarm.
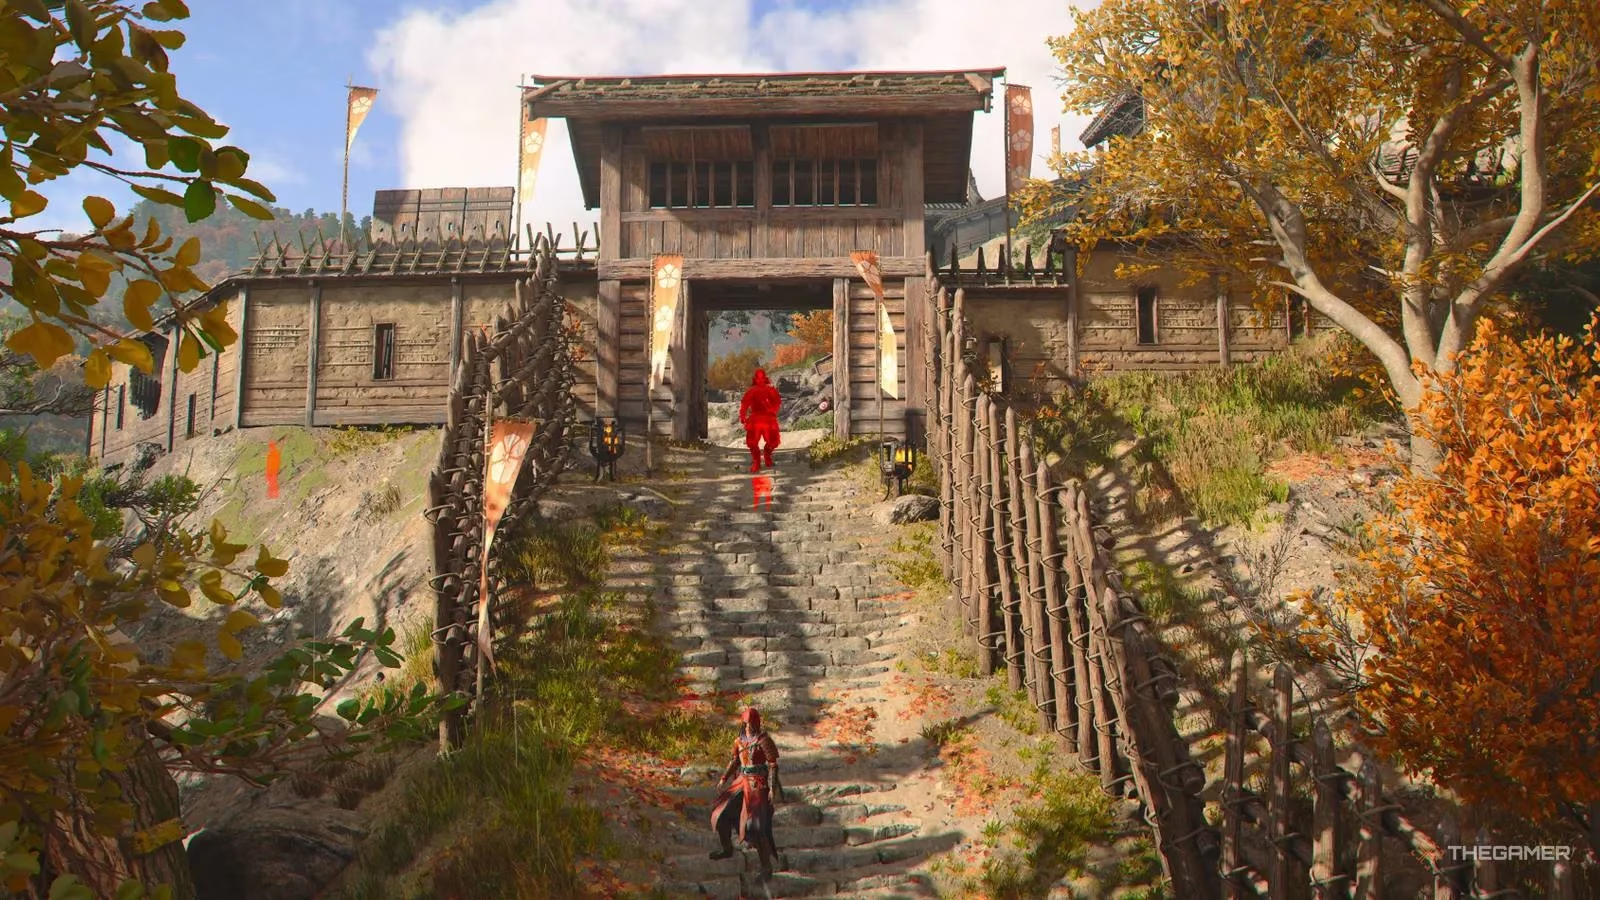
Approaching Takeda Castle
I approached from the southern path and stopped before the guard could spot me. Instead of walking through the main entrance, I skirted along the rocks on the right side of the fence. I jumped onto a cluster of rocks below the tower to the right of the entrance. From there I used my grappling hook, adjusted my position, and scaled the wall. Once on top, I had a clear view of the southwest edge, and it was mostly empty. I moved along the southeastern perimeter, reached the easternmost corner of the lower section, and then cut slightly northwest into the lower central courtyard. That is where the first Samurai Daisho waited.
First Samurai Daisho: Lower Central Courtyard
This first target was well guarded, so I took it slowly. I shimmied across the wall below the nearby guard, pulled myself up behind him, and assassinated him. Next I crept to the guard standing on the platform overlooking the Daisho and removed him. I waited for the patrolling guard to turn away, killed the Daisho, and then immediately assassinated that patrol before he could react. The lower central courtyard was secure.
Second Samurai Daisho: Northern Central Courtyard
From the western courtyard I went north along the narrow path toward the northern section of the castle. I followed the western edge until I could turn right and see the northern central courtyard. This area contains the second and third Daisho, so I climbed onto a roof as soon as I crossed in.
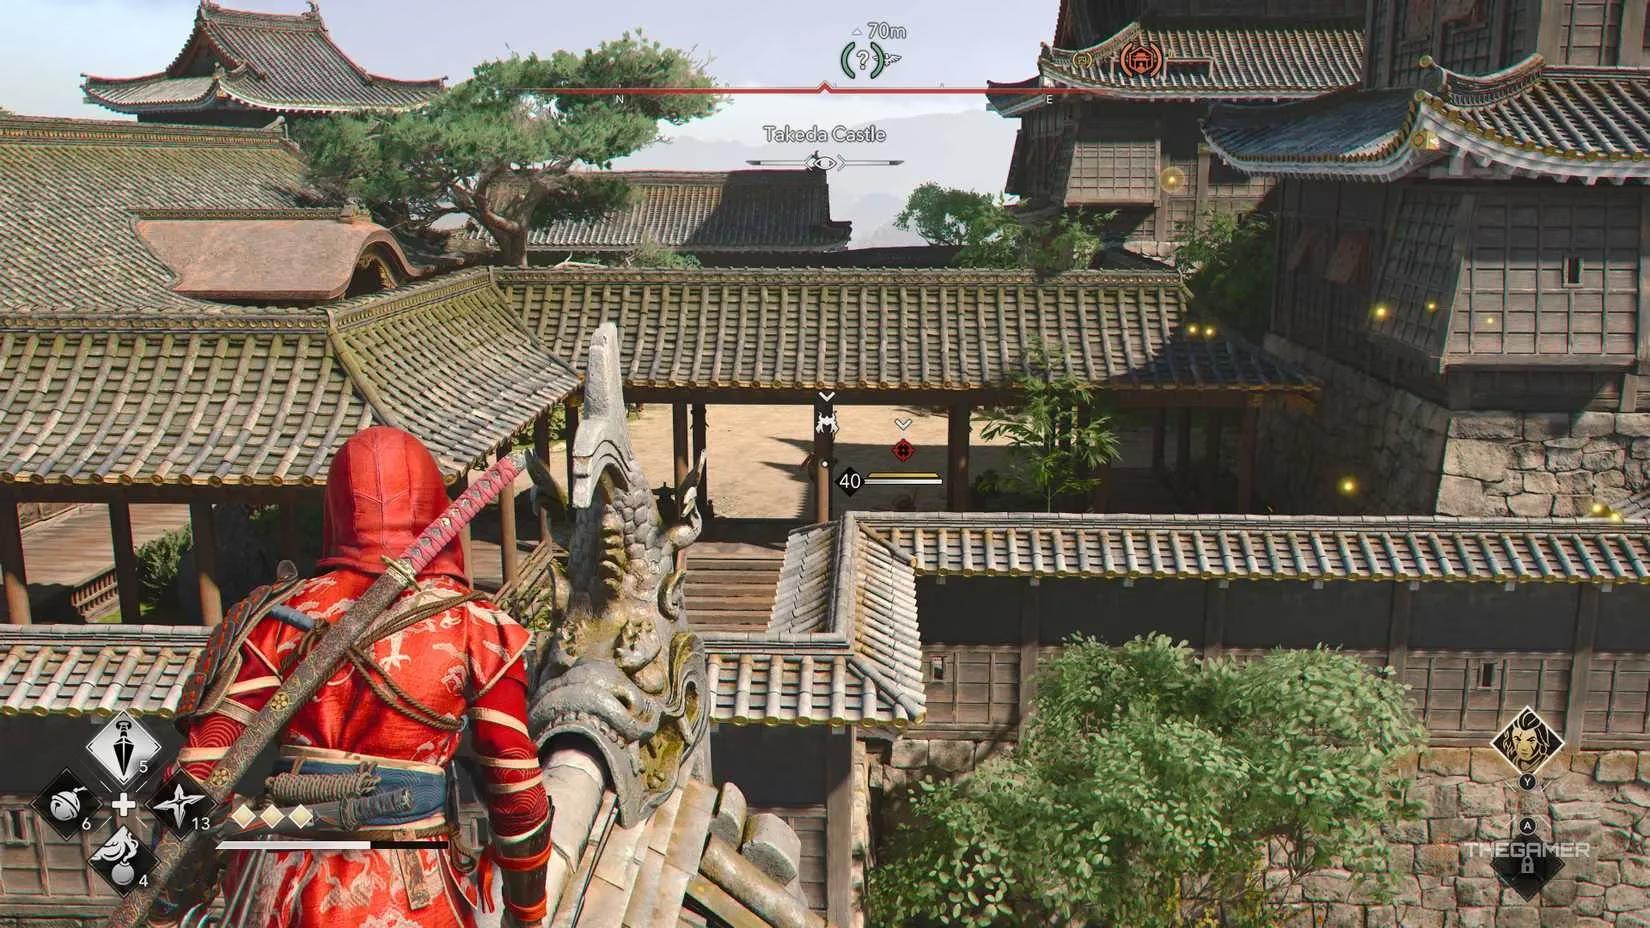
For the second Daisho, I moved to the southwestern area of the central roofed path. I waited for the patrolling guard, assassinated him, then hid in the bushes near the corner where the Daisho sat with another guard. I threw a Shinobi Bell to lure that guard over and killed him. With him gone, I snuck to the second Samurai Daisho and took him down quietly.
Third Samurai Daisho: Alone and Unprotected
From the second Daisho I headed northeast into the next courtyard. The third Samurai Daisho was completely alone. An unprotected target after the careful work earlier felt almost too easy. I assassinated him and moved on.
Fourth Samurai Daisho: Far Eastern Northern Section
From the third Daisho's position I walked east along the perimeter walls to enter the far eastern section of the northern area. The fourth Samurai Daisho was sitting on the ground. I climbed onto the corner of the building directly above him and waited for the patrolling guard to start walking away down the stairs. Then I jumped and air assassinated the Daisho. I crouch-walked to the nearby stationary guard and killed him. Finally I scurried after the patrolling guard and used a double assassination on him and the guard he stopped next to, clearing the area.
Fifth Samurai Daisho: Explosive Finish
From the eastern courtyard in the northern section I headed northeast into the far northeastern courtyard. The fifth and final Samurai Daisho was there. I moved to the locked shed behind him and watched the guard pattern. When the guards were near the pots, I threw a Kunai at an explosive pot. The explosion killed the guards, and I immediately jumped to assassinate the Daisho. The whole courtyard cleared in seconds.
Side Loot Locations in Takeda Castle
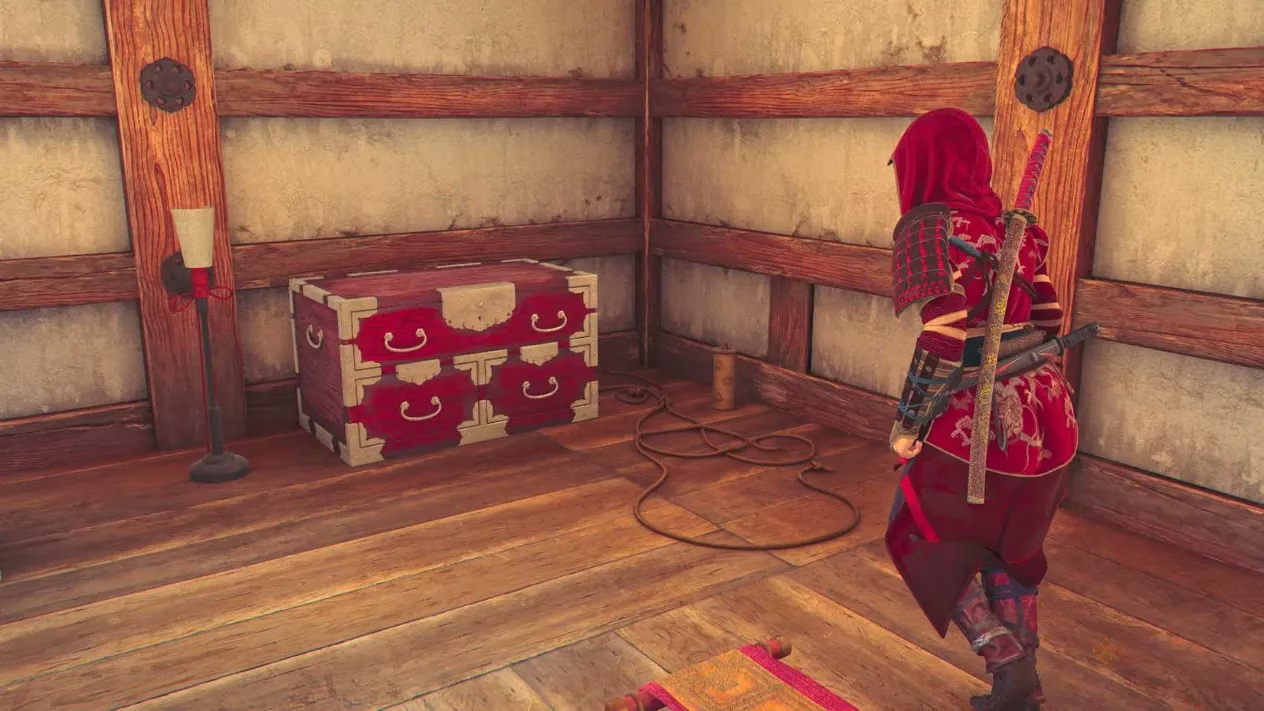
After the five Daisho, I swept the castle for supplies and resources. These are the locations I found:
-
Key: In the top left corner of the northeastern courtyard, inside a small house guarded by a man.
-
Locked shed: In the top left corner of the northeastern courtyard, just outside that house. It contains a chest, minerals, and a pile of resources to smuggle.
-
Central western courtyard: A small house guarded by two men holds a chest. It is adjacent to where I killed the first Daisho.
-
Southern part of the northern central courtyard: Two large piles of resources to smuggle and a small chest near where I killed the second Daisho.
-
Eastern area of the northern section: A small chest down the stairs from the fourth Daisho encounter.
-
Far northeastern courtyard: A house guarded by two enemies outside and one inside. I waited until they separated, killed them, and claimed the chest.
-
Northeastern corridor: A chest on top of where the fifth Samurai Daisho stood.
-
Tenshu second floor: A chest guarded by a Samurai inside the large tower in the northern central courtyard.
Legendary Chest and Final Rewards
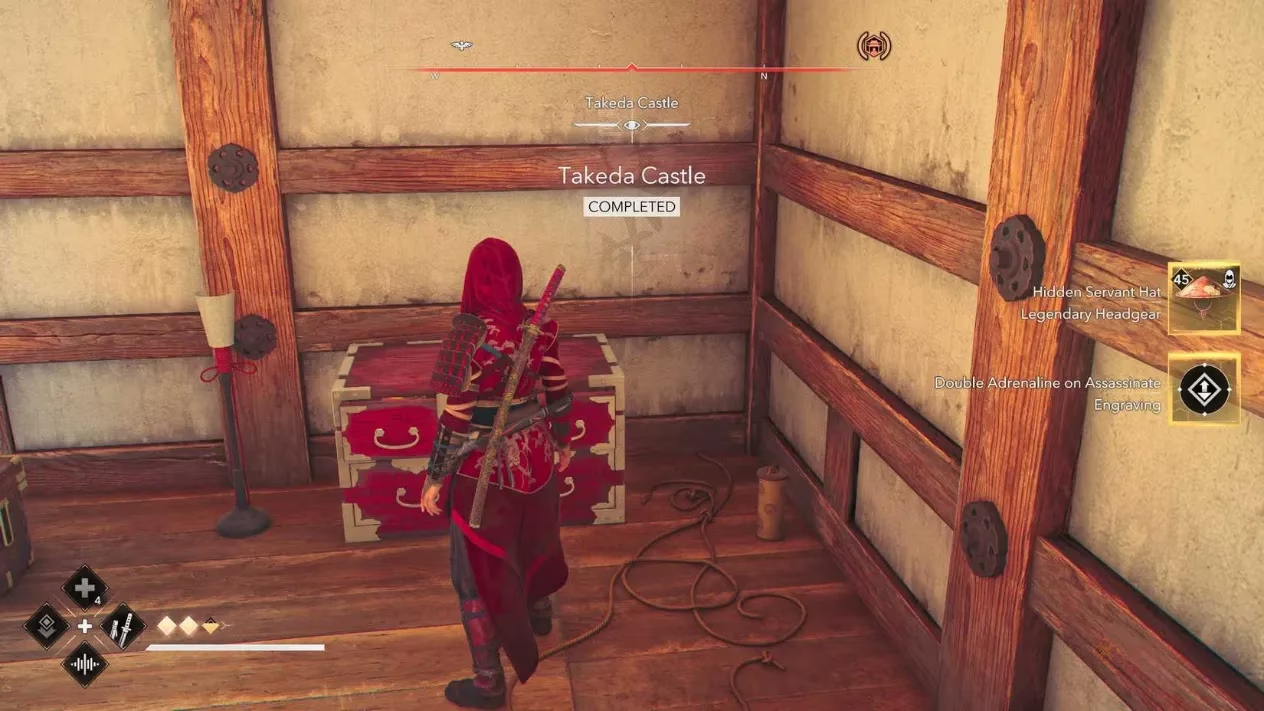
After clearing the fifth Daisho I returned south to the Tenshu in the north central courtyard. I fought my way up to the fourth floor. The Legendary Chest there gave me:
| Reward | Details |
|---|---|
| XP | 3,000 exp |
| Engraving | A new engraving |
| Legendary Headgear | The Hidden Servant Hat for Naoe |
After collecting that loot, I climbed to the top of the Tenshu for one more reward: the synchronization viewpoint and its fast travel location.

The whole process felt methodical and rewarding. By sticking to rooftops, bushes, Shinobi Bells, and a well-timed Kunai explosion, I cleared Takeda Castle without triggering the alarm. If you are hunting Legendary Chests or just enjoy silent castle runs, this route is worth trying.